인턴십 기업에서 SMTP 메일 전송 서비스를 Naver Outbound mailer 메일 전송 서비스로 바꾸게 되었다... 이에 Naver Outbound Mailer가 무엇이고, 어떻게 사용하는지, 간단한 예제로 SpringBoot 프로젝트 적용해보고자 한다.
Cloud Outbound Mailer
개인화 콘텐츠 메일을 빠르고 안정적으로 전송할 수 있는 서비스로 알림, 정보, 마케팅 대량 메일을 UI를 통해서 쉽게 전송하거나 운영하고 있는 서비스에 연결해 전송할 수 있도록 도와주는 서비스이다.
제공 기능
- 대용량 및 예약 메일 전송 기능
- 수신자 그룹관리 및 조합 발송 기능
- 콘텐츠 개인화 메일 전송 기능
- 실시간 통계 조회
- Open API - 메일 발송, 발송 결과 조회
- HTTP Open API를 통해서 메일을 발송할 수 있고, 그 결과를 조회할 수 있다.
- HTTP Open API를 통해서 메일을 발송할 수 있고, 그 결과를 조회할 수 있다.
- 발송 이력 조회
사용 방법
1. Cloud Outbound Mailer를 사용하기 위해서는 먼저, 서비스를 이용 신청해야 한다.
- 네이버 클라우드 플랫폼 콘솔에서 Services -> Apllication Services -> Cloud Outbound Mailer 메뉴를 차례대로 선택

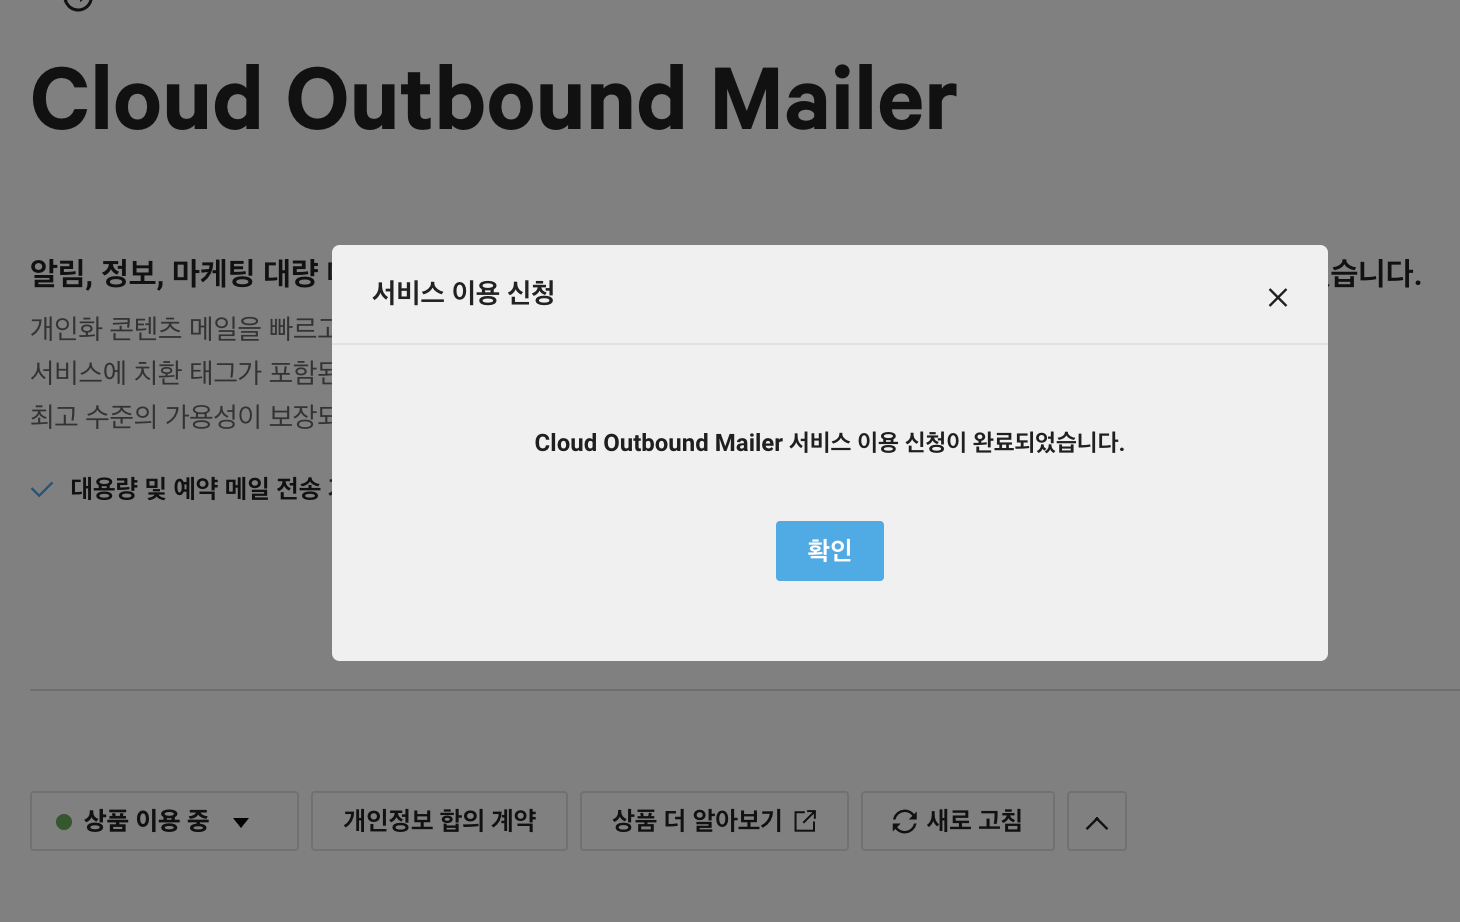
- 이용 신청 클릭
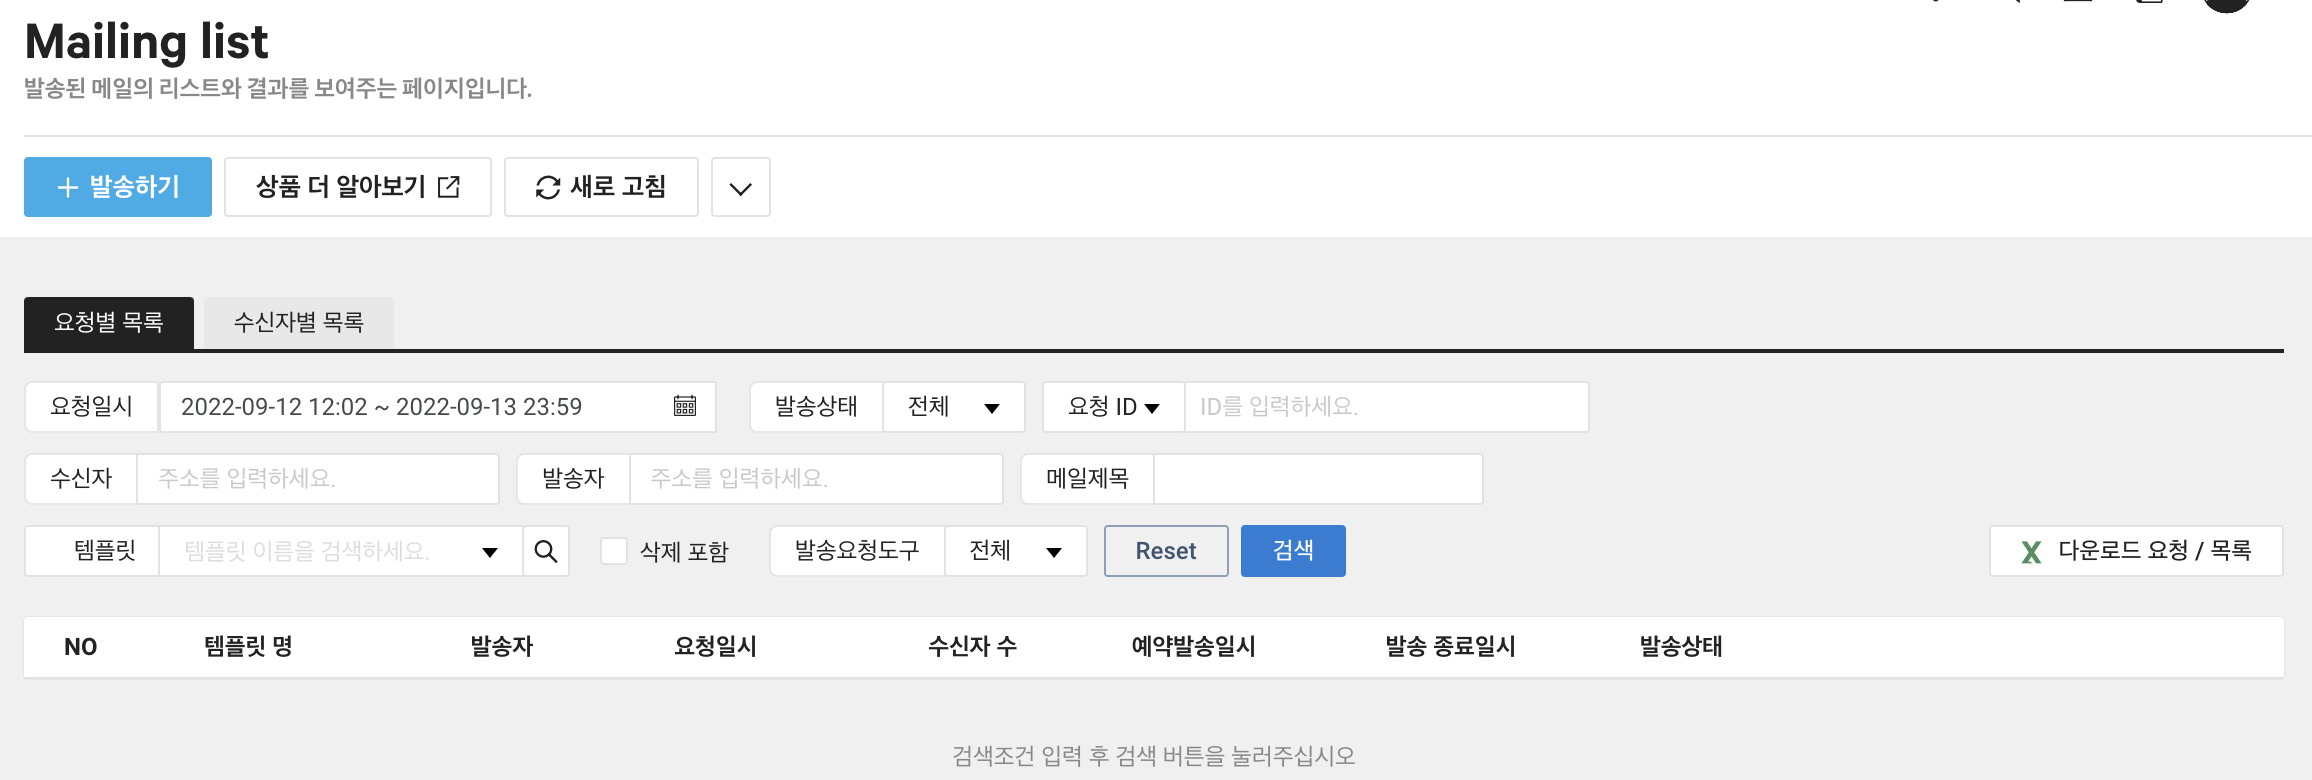
- 이용 신청을 진행하면 Mailing list에서 다음과 같은 화면을 볼 수 있다.
2. Cloud Outbound Mailer API 사용
- Cloud Outbound Mailer API는 RESTful 형태로 제공되고, HTTP 방식의 GET/POST/DELETE 메서드를 호출하여 사용할 수 있다.
- Cloud Outbound Mailer API는 NAVER Cloud Platform API Gateway를 통하여 제공되며, API Gateway에 등록된 API를 사용하기 위해서는 AccessKey, Secret Key 두 가지 인증키를 발급 받아야 한다.
- 발급 과정은 https://api.ncloud-docs.com/docs/common-ncpapi을 참조
[KR] Cloud Outbound Mailer API Endpoint -> https://mail.apigw.ntruss.com/api/v1
API 사용
HTTP API 목록은 다음 링크에서 확인할 수 있다.
https://api.ncloud-docs.com/docs/ai-application-service-cloudoutboundmailer
1. 설정

-> .yml에 발급 받은 accessKey, sercetKey와 endpoint를 입력한다.
2. 코드
@Slf4j
@Component
public class MailService {
    @Value("${outboundMail.endpoint}")
    private String endpoint;

    @Value("${outboundMail.accessKey}")
    private String accessKey;

    @Value("${outboundMail.secretKey}")
    private String secretKey;

    private final String sendMailUri = "/api/v1/mails";

    // 메일 전송
    public void mailSend(MailMessage mailMessage) {
    	// 현재 밀리시간
        Long currentTimeMillis = System.currentTimeMillis();

        // 요청 정보 생성
        String senderAddress = "test@gmail.com";
        String title = mailMessage.getTitle();
        String body = mailMessage.getMessage();

        ArrayList<RecipientForRequest> recipients = new ArrayList<>();
        recipients.add(RecipientForRequest.of("수신자 이메일", "수신자"));

        OutboundMailRequest outboundMailRequest = OutboundMailRequest.of(senderAddress, title, body, recipients);
        String result = useWebClient(currentTimeMillis.toString(), outboundMailRequest);

        log.info("result = {}", result);
    }

    // webClient 전송
    private String useWebClient(String currentTimeMillis, OutboundMailRequest outboundMailRequest) {
        Mono<String> result = WebClient.builder()
                .build()
                .post()
                .uri(endpoint + sendMailUri)
                .headers(httpHeaders -> {
                    httpHeaders.add("Content-Type", "application/json");
                    httpHeaders.add("x-ncp-apigw-timestamp", currentTimeMillis);
                    httpHeaders.add("x-ncp-iam-access-key", accessKey);
                    httpHeaders.add("x-ncp-apigw-signature-v2",
                            makeSignature("POST", sendMailUri, currentTimeMillis));
                })
                .body(BodyInserters.fromValue(outboundMailRequest))
                .retrieve()
                .bodyToMono(String.class);

        return result.block();
    }

    // 서명 값 생성
    private String makeSignature(String httpMethod, String url, String time) {
        String message = new StringBuilder()
                .append(httpMethod)
                .append(" ")
                .append(url)
                .append("\n")
                .append(time)
                .append("\n")
                .append(accessKey)
                .toString();

        String encodeBase64String = null;

        try {
            SecretKeySpec signingKey = new SecretKeySpec(secretKey.getBytes("UTF-8"), "HmacSHA256");
            Mac mac = Mac.getInstance("HmacSHA256");
            mac.init(signingKey);

            byte[] rawHmac = mac.doFinal(message.getBytes("UTF-8"));
            encodeBase64String = Base64.getEncoder().encodeToString(rawHmac);
        } catch (Exception e) {
            log.error("mail send Error", e);
        }

        return encodeBase64String;
    }
}- mailSend() -> 메일 전송 기능
- OutboundMailReqeust 객체를 사용하여 Request Body를 생성한다.
- OutboundMailReqeust 객체를 사용하여 Request Body를 생성한다.
- useWebClient() -> WebClient를 사용하여 API 요청
- x-ncp-apigw-timestamp : 현재 밀리초
- x-ncp-iam-access-key : 발급 받은 accessKey
- x-ncp-apigw-signature-v2 : secretKey를 사용한 서명 값
- 도메인을 제외한 url + accessKey + 현재 밀리초
@Getter
@NoArgsConstructor
public class OutboundMailRequest {

    private String senderAddress; // 발송자 Email 주소

    private String senderName; // 발송자 이름

    private String title; // 제목

    private String body; // 내용

    private List<RecipientForRequest> recipients; // 수신자 정보

    private boolean individual = true; // 개인별 발송 여부, 일반 발송 여부

    private boolean advertising = false; // 광고 메일 여부


    protected OutboundMailRequest(String senderAddress, String senderName, String title, String body,
                                  List<RecipientForRequest> recipients) {
        this.senderAddress = senderAddress;
        this.senderName = senderName;
        this.title = title;
        this.body = body;
        this.recipients = recipients;
    }

    protected OutboundMailRequest(String senderAddress, String senderName, String title, String body,
                                  List<RecipientForRequest> recipients, boolean individual, boolean advertising) {
        this.senderAddress = senderAddress;
        this.senderName = senderName;
        this.title = title;
        this.body = body;
        this.recipients = recipients;
        this.individual = individual;
        this.advertising = advertising;
    }

    public static OutboundMailRequest of(String senderAddress, String senderName, String title, String body,
                                         List<RecipientForRequest> recipients) {
        return new OutboundMailRequest(senderAddress, senderName, title, body, recipients);
    }

    public static OutboundMailRequest of(String senderAddress, String senderName, String title, String body,
                                         List<RecipientForRequest> recipients, boolean individual, boolean advertising) {
        return new OutboundMailRequest(senderAddress, senderName, title, body, recipients, individual, advertising);
    }
}- OutboundMailRequest -> Request Body
@Getter
@NoArgsConstructor
public class RecipientForRequest {

    // 수신자 이메일
    private String address = null;
    // 수신자 이름
    private String name = null;
    // R: 수신자, C: 참조인, B: 숨은참조
    private String type = "R";
    // 치환 파라미터
    private Object parameters = null;


    protected RecipientForRequest(String address, String name) {
        this.address = address;
        this.name = name;
    }

    public static RecipientForRequest of(String address, String name) {
        return new RecipientForRequest(address, name);
    }
}- RecipientForRequest -> 수신자 정보
- parameters로 설정한 값은 메일 내용에서 참조 가능하다.
메일 전송 확인
메일 전송 결과를 확인하기 위해서는 API응답 결과를 확인하는 방법과 Cloud Outbound Mailer에서 제공하는 UI를 통해 확인할 수 있다.
- API 응답 확인

- UI

* 도메인을 등록하지 않을 시 발송된 메일에 사칭 경고가 포함된다.

해결 방법
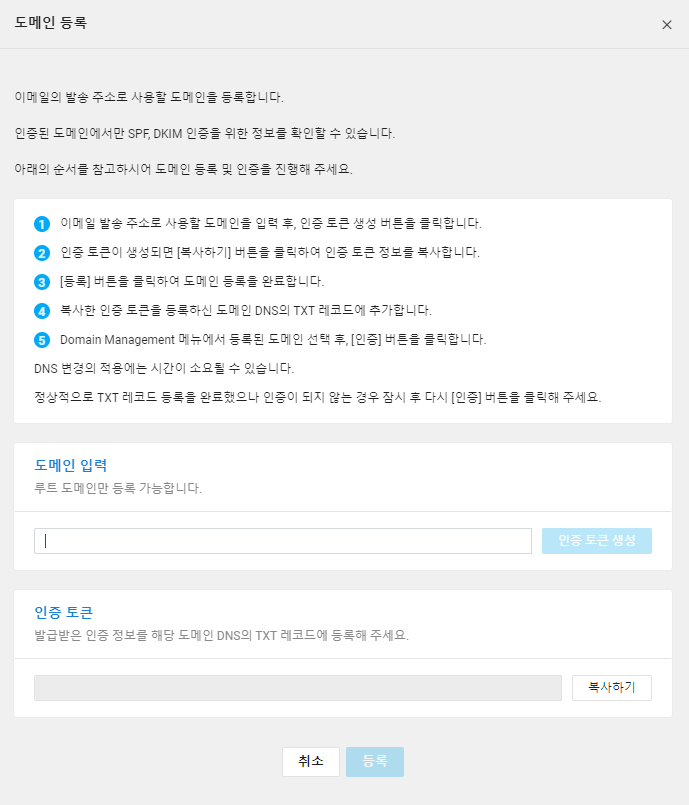
- Cloud Outbound Mailer -> Domain Management에서 도메인 등록을 진행한다.
'정리' 카테고리의 다른 글
| MicroService 정리 (0) | 2022.11.23 |
|---|
